Making Whiskey doesn't have to be complicated - this malt extract whiskey recipe is a nice and simple way to familiarise yourself with the basics of making a great whiskey, and saves you time by letting you skip a grain mashing process.
Depending on where you are in the world, "Whiskey" can mean different things and even the spelling can vary regionally ("Whiskey" in USA/Ireland and "Whisky" in Scotland/Canada). To keep things simple, today we're talking about a malt "Whiskey".
Whiskey can be made from various ingredients such as barley, rye, wheat, corn or others depending on regional differences and laws. For example, to be called "Bourbon", the product must be made in the US and be made from at least 51% corn (as well as other requirements) whereas a Scotch Whisky (there's that spelling again) can only be made in Scotland.
At home, we can make Whiskey in various ways (with varying degrees of difficulty). From all-grain to malt extract, depending on the skill and equipment the distiller has at their disposal.
We’re going to dip our toes in the water today with a malt extract whiskey recipe, as it requires minimal equipment and the ingredients are all relatively easy to source.
 You will need the following to make up the wash:
- 30 L (8 US Gal) Fermenter with lid and airlock
- Stirring Spoon
- 3kg Dark Liquid Malt Extract
- 3kg Dextrose
- 20g Still Spirits Whiskey Yeast
- 30g Still Spirits Dark Spirit Nutrient
- 3 Capfuls Still Spirits Distilling Conditioner
- Still Spirits Turbo Clear (optional)
Making the wash:
- Clean and sanitise the fermenter, lid, and mixing spoon.
- Stand the liquid malt pouches in hot water for 15 minutes to soften the malt extract.
- Add 3 L (0.8 US Gal) of boiling water to the fermenter and mix in the malt extract until completely dissolved.
- Top up the fermenter to 15 L (3.9 US Gal) with cool water and add the dextrose, stirring well to dissolve.
- Once dissolved well, top-up to 25 L (6.6 US Gal) with cool water and stir well once again.
- Using your hydrometer, check your starting gravity and note this down.
- Check the wash temperature is below 30°C (86°F), stir in the yeast nutrient and then sprinkle the yeast on top.
- Seal your fermenter and half fill the airlock with previously boiled water or a sanitiser solution.
- Leave to ferment between 20-30°C (68-86°F) for approx. two weeks - you will know when fermentation is complete when the gravity reading is stable for two or more days.
- Once fermentation has finished you can add your Turbo Clear if you wish or you can leave the wash for a few days to a week to naturally clear.
Stripping Run:
For more detailed instructions on the next steps be sure to check out the instructions that came with your still and our articles on taking cuts, blending cuts, and oak ageing your whiskey.
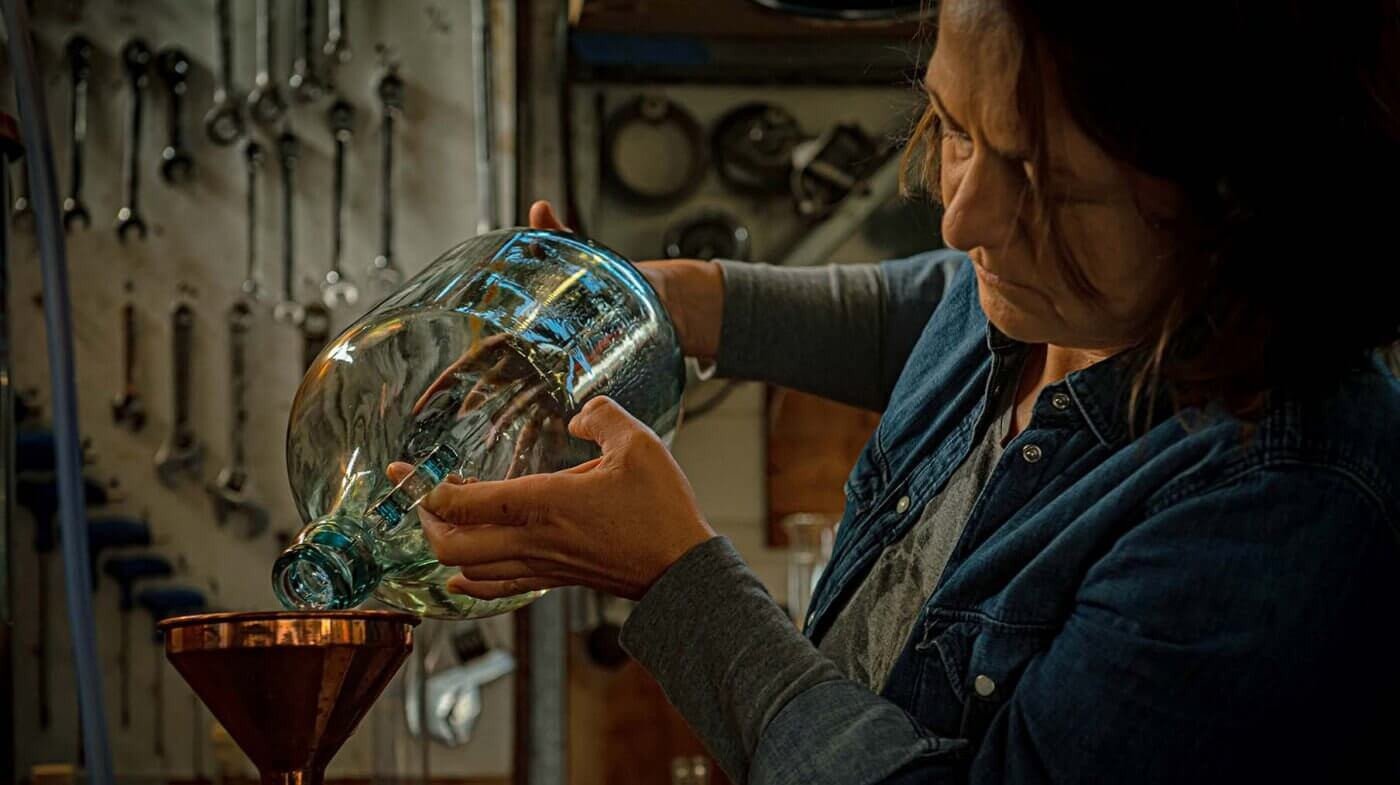
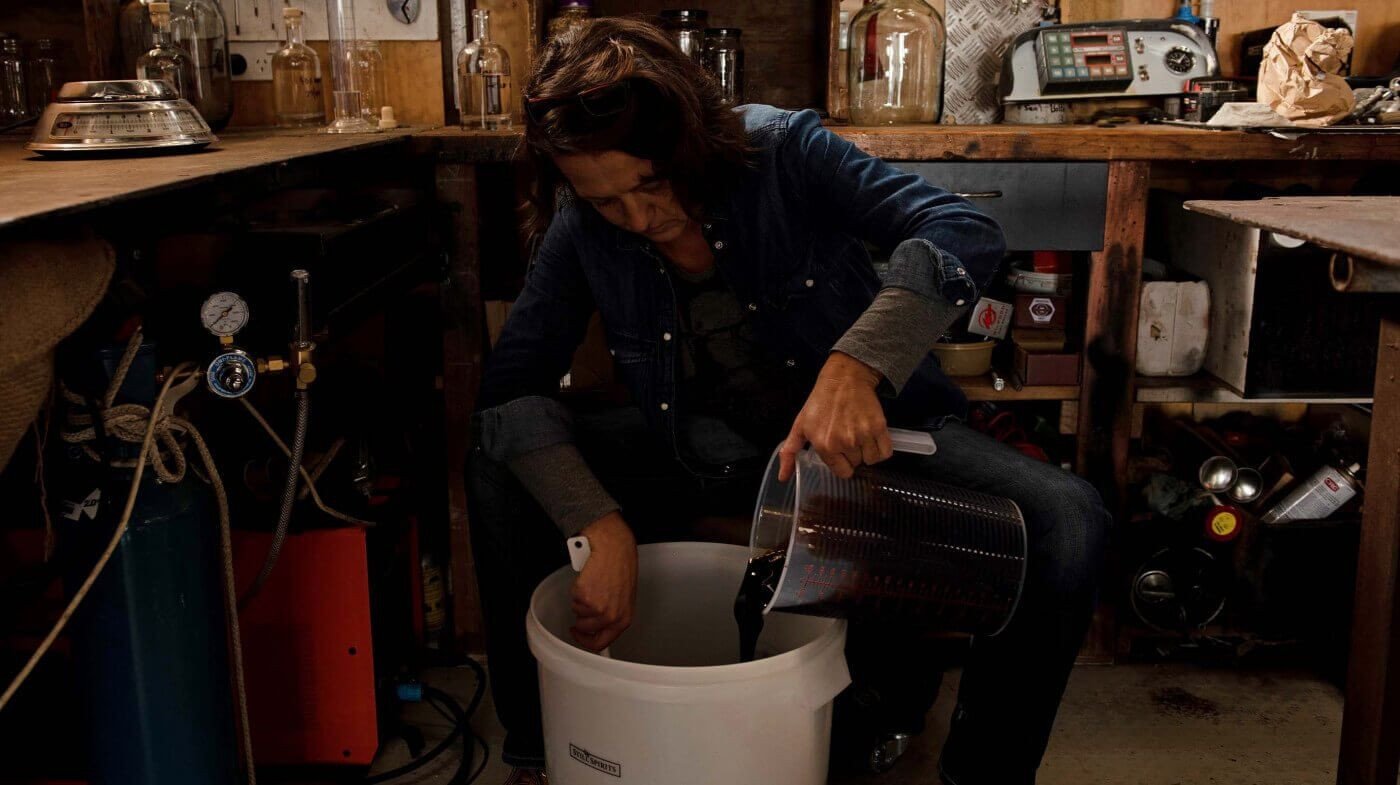
- Empty the fermenter into the boiler ensuring you don’t transfer over the yeast and lees at the bottom.
- Add three capfuls of distilling conditioner to the boiler and ceramic boil enhancers to assist with potential surging.
- Place the Alembic Dome & Condenser onto the boiler (or your pot still) and connect up the cooling hoses as per the instructions included with your system.
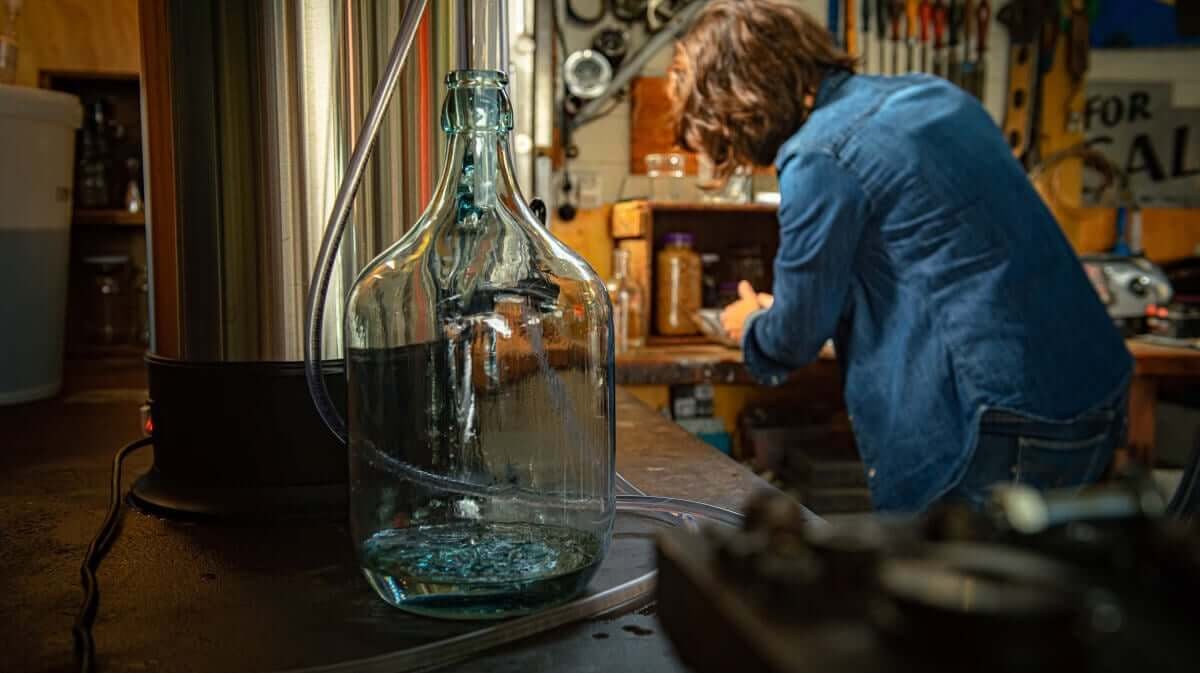
- With this run, we want to catch all the distillate, so ensure you have one or two 5 L (1.3 US Gal) demi-johns there to capture it all.
- Once the temperature reaches approx. 98°C (208.4°F) or the dripping has become very slow switch off the boiler – the stripping run is complete.
Spirit Run:
- Empty the contents from the stripping run into the boiler, adding enough water to ensure the ABV is less than 40% and that the boiler is at least 10 L (2.6 US Gal) full and add the ceramic boil enhancers.
- Place the Alembic pot still onto the boiler (or your pot still) and connect up the cooling hoses as per the instructions.
- Switch the boiler to full heat. Using a Grainfather G30 is helpful during this step as you can control the voltage to the boiler once it gets to temperature. This allows you to have greater control over the final quality of the spirit, but you can still make a great Whiskey on a non-temperature controlled boiler – just keep an eye on the water usage to ensure the output is slower and not rushed.
- Once the distillate starts to drip out, discard the first 100ml (3.4 fl oz) and then collect the rest of the run into jars of equal volume, 400mL jars work well, capturing about 250-300ml (8.5-10 fl oz) or so in each one. Ensure these are labelled.
For more information on this process, view our article on taking cuts.
Selecting and ageing your Whiskey:
- Once the run has completed, you can then select which jars to use straight away or ideally you can cover them with a towel and let them rest for 24 hours – this allows some of the more volatile aromas and unwanted compounds to evaporate leaving a cleaner spirit for selecting.
- Start in the middle of the run smelling (and tasting if you wish, one drop of the distillate on a spoon with a few drops of water) each of the jars. You will note the that the flavours and aromas will vary, with the first number of jars being the heads, the middle the hearts and the last ones being the tails.
The hearts are the bulk of the product you want to use, however, some of the heads and tails can contribute flavour so don’t discount them straight away – but you don’t want to use all of them! - Mix together the jars you selected and using your alcometer check the ABV, a lot of distillers like to oak their alcohol at approx. 63% for longer periods, what you should to do here is entirely up to you, you could even split the batch up slightly to try different things.
- Once you’re happy with the ABV, add your oak. 10g/L is a good starting point for a longer period of maturing (six-plus months), however, you can add more oak upfront if you wish – our biggest advice here is to test each week or so until you get your whiskey to a point that you are happy with.
- Once you’re happy with it, you can remove the oak and run the whiskey through a coffee filter (paper) to remove any oak particles.
For more information on blending and ageing, view our articles on blending cuts and ageing alcohol.